Growing Celery from Seed: A Step-by-Step Guide
Content
Preparing the soil on the site
To achieve good yields, you'll need very fertile soil. Celery doesn't tolerate acidic or poorly drained soil. Deep, humus-rich loams are preferred.
It's best to plant celery in beds that have been generously fertilized for previous crops (peppers, tomatoes, cucumbers). Poor soil can be improved by adding rotted manure or compost.
Fresh manure can be applied to leaf and stalk celery, as the high nitrogen concentration accelerates the growth of vegetative matter, or tops, so to speak. To develop roots, the manure must be thoroughly rotted. Adding phosphorus will speed up ripening and improve the quality of the plants. Potassium fertilizers help the plant accumulate sugars and starch more rapidly, increasing frost resistance.
Light liming in the fall will replenish calcium and magnesium needs. Fertilizer application rates per 1 m²: compost (rotted manure) – 6-8 kg, nitrogen fertilizers – 3-5 g, phosphorus – 10 g, potassium fertilizers – 5 g.
Organic and phosphorus fertilizers are applied in full in the fall, with half of the remaining fertilizer being used. The remaining fertilizer is used as top dressing. The planting site should be open, sunny, and not shaded.
Video "Growing"
This video will show you how to grow celery properly.
Seed material
Celery is a biennial herb in the Apiaceae family. Breeding efforts to develop new varieties have shifted the emphasis from the green leaves to other parts of the plant, resulting in three distinct varieties: stalk celery, leaf celery, and root celery.
The best varieties of leaf celery:
- Samurai attracts with its curly leaves with a corrugated edge. Mid-season with excellent taste;
- Bodrost is a mid-season variety with good resistance to low temperatures and drought. The first harvest is harvested after 70 days.
- Parus is an early-ripening, very productive variety; the first harvest is ready in 40-45 days.
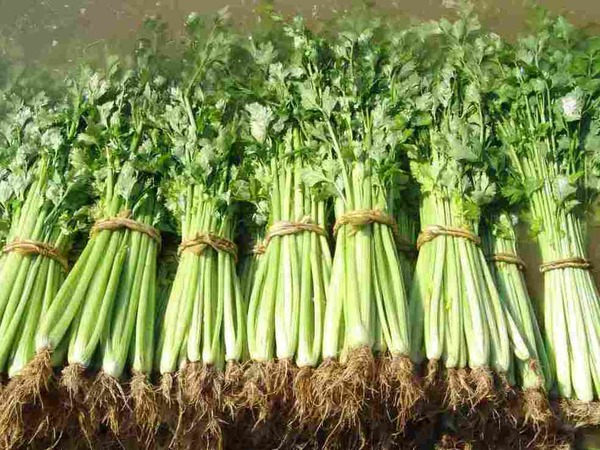
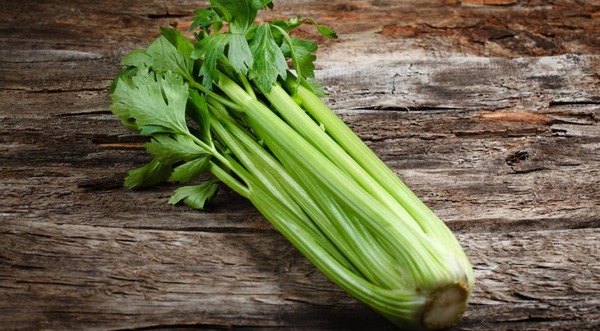
Stalk celery is the least popular variety in our country, but I don't think that will be for long. The wonderful taste of its crispy sticks captivates everyone who has tried celery stalks.
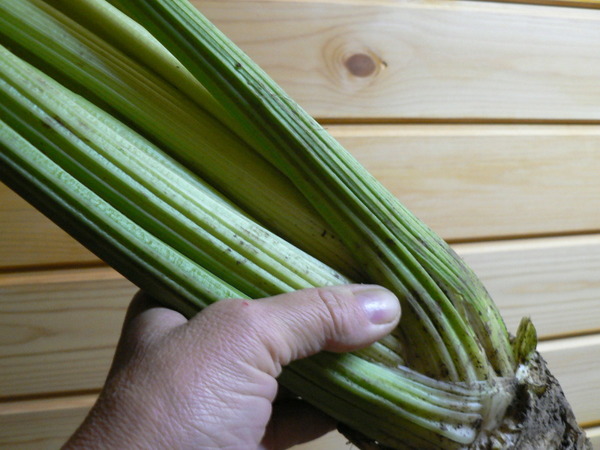
Varieties of this species are divided into self-bleaching, green (which require bleaching), and intermediate forms. Self-bleaching stalks store worse than green ones. Here are some interesting varieties of petiole celery:
- Pascal is a mid-season variety that requires bleaching;
- Tango is a variety with excellent flavor and smooth stems. Its light green color requires no bleaching.
And finally, root celery. For winter storage, you should purchase seeds from mid-early, mid-season, and late varieties. The fruits of early varieties do not store well.
Let's look at some popular varieties:
- Yablochny (Apple) is a very early-ripening variety with medium-sized, round tubers. Its drawback is the large number of lateral roots;
- Cascade is a mid-early variety with a small number of low-lying roots;
- Prague Giant is a large-fruited (up to 500 g) variety with a mid-season ripening period; the fruits are stored well.
Sowing seeds for seedlings
Celery seeds are very small and contain a large amount of essential oils, so they take a long time to germinate. Germination rates are low, making growing celery from seed outdoors very difficult.
Seedlings begin to be sown at the end of February. Germination can take up to a month, but the process can be sped up.  Let's consider several options for soaking seeds:
- The seeds are washed in hot water for 10-15 minutes, then lightly dried. The seeds are ready for sowing;
- the seeds are soaked for a day in warm water;
- The seeds, wrapped in a damp cloth, are kept at room temperature for a week, constantly moistened, then placed in the refrigerator away from the freezer for 2 weeks, after which they are planted.
Of the three methods, the last one (called stratification) is the most effective.
For seedlings, you'll need shallow boxes filled with a mixture of garden soil, humus, and sand. To disinfect the soil, water it with boiling water and potassium permanganate two days before sowing.
Before sowing, moisten the soil again. After about two hours, make furrows 1 cm deep and begin sowing the seeds. If you plan to grow the seedlings in these same containers before planting them in the ground, sow the seeds 5 cm apart.
When transplanting later, the seeding can be compacted. The seeds, evenly distributed along the furrows, are not buried, but rather lightly pressed down (this will facilitate germination) and watered with a spray bottle.
Cover the boxes with glass or transparent film and place them in the light. The room temperature should be between 18-240°C. In 5-7 days, the seeds will sprout and tiny white roots will appear. After another week, cotyledon leaves will appear.
The film can be removed, the seedlings can be watered with room temperature water using a spray bottle and very carefully loosened without covering the seedlings.
In February, seedlings don't yet receive enough natural light, which can cause them to stretch, so supplemental lighting is recommended. Lowering the temperature to 16 degrees Celsius (62 degrees Fahrenheit) can also help slow down the growth of seedlings.
The seedlings are pricked out after the third true leaf appears. Seedlings with poorly developed roots are discarded. After pricking out, the seedlings are watered thoroughly.
Further care consists of regular watering and loosening.
Planting seedlings in a garden bed
In mid-May, celery seedlings can be transplanted into the garden bed. Plants are spaced 15-30 cm apart. For root and petiole varieties, 20 cm between adjacent plants is optimal.
Leaf celery is planted at a distance of 30 cm, being careful not to cover the growing point. Planting root celery seedlings too deeply is not recommended to prevent the formation of lateral roots that can disfigure the root crop.
Choose celery's neighbors wisely. It's not recommended to plant celery near corn, potatoes, parsley, or carrots. However, celery has been shown to have a mutually supportive relationship with cabbage: cabbage stimulates celery growth, and celery repels cabbage butterflies. It also pairs well with bush beans, tomatoes, spinach, cucumbers, lettuce, and beets.
Care
Celery care involves timely watering, weeding, and loosening the soil. Phosphorus-potassium fertilizers are applied twice per season: two weeks after transplanting the celery into the garden bed and again three weeks later.
Video "Leaving"
From the video you will learn how to care for celery.