How to dry dill at home: effective methods
Content
Preparation
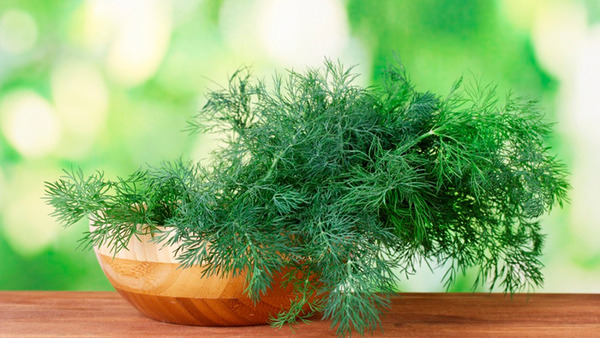
This herb is also rich in vitamins C, P, B1, and PP, as well as folate and ascorbic acid, carotene, potassium, calcium, phosphorus, and essential oils. Of course, fresh dill has many more beneficial properties. However, properly dried dill retains its characteristic flavor and aroma. This seasoning is commonly added to meat dishes, soups, salads, and used in preserves. It not only improves the taste of any dish but also has the ability to normalize blood pressure, stabilize the nervous system, and improve vision.
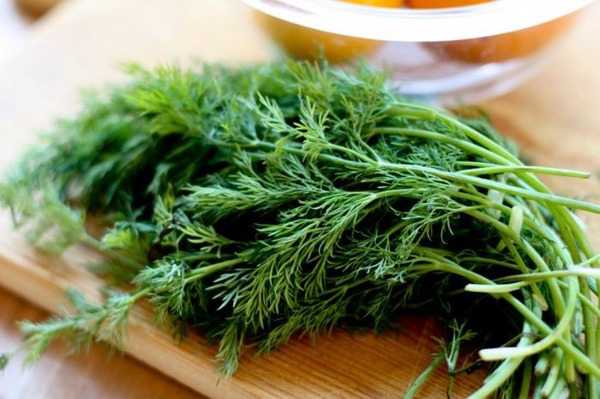
To dry plants properly, you should have a cutting board, a drying rack specifically designed for fruits and vegetables, a knife, and a towel ready. The success of preparing plants for storage depends largely on the quality of the raw materials used. It's recommended to cut grass in your garden in dry weather and after the morning dew has cleared. If you ignore this advice, the grass will either turn black or begin to rot due to moisture. Carefully trim the root system and sort through the plants, removing any yellowed or damaged branches. Then rinse the grass under running cold water and allow the water to drain.
Video: "Proper Drying of Dill"
This video will show you how to properly dry dill.
Drying methods
How to dry dill properly? It might seem like a simple question, but there are some nuances involved. Drying this beloved spice is possible in several ways. You can chop the plant or spread it out to dry in sprigs. Remember to dry the stems and leaves separately. Below, we'll explain in detail how to properly dry dill at home to preserve its unique aroma and flavor.
How to dry dill after chopping it first?
After cutting the grass into small pieces, spread it out in a thin layer on white paper. It is not recommended to use newspapers for this purpose, as they can not only spoil the plant's appearance but also make it harmful to human health.
Drying should be done in a well-ventilated area or somewhere that can be aired regularly. Drying time is 3 to 5 days.
There's another method that doesn't involve grinding the spice. This involves simply laying the sprigs on special vegetable drying racks. This will take about two hours. Afterward, it's recommended to place the dried product in jars and seal them tightly with lids. Store in a fairly dark, cool place.
After sorting and washing the sprigs, you can also place them in small bundles tied with string in a well-ventilated room away from direct sunlight. The plant will be well-dried in just a few days, provided the weather is favorable. Determining when the herb is ready is quite simple: simply rub a sprig between your hands. If powder remains on your palms, you've done everything correctly.
How to store
To preserve this well-known spice for as long as possible, stock up on small jars. Containers with a capacity of 100 to 500 ml are suitable. You can use jars with vacuum lids, i.e., lids with a rubber seal. 
Thrifty housewives don't throw away baby food jars and other similar containers. A glass jar and a tight-fitting lid are essential for proper storage of herbs. A secure lid will prevent moisture from penetrating. If you plan to store your herbs outside of a kitchen cabinet or other dark place, opaque jars are recommended. To store herbs, you can use an opaque zip-lock bag, such as leftover coffee bags. When preparing herbs, avoid overdrying them. The optimal time for this process is three days.
Video: "Dill Harvesting"
This video will show you how to prepare herbs for the winter.