Growing Tomatoes on the Balcony: A Step-by-Step Guide
Content
About choosing a variety
Growing tomatoes on a balcony will only yield positive results if you choose the right variety. If your balcony is spacious enough, you can grow both low-growing and tall-growing vegetables there. For smaller spaces, it's best to grow dwarf varieties such as Cherry, Malysh, or Dubok. These varieties produce small but juicy fruits, and yield substantial yields.

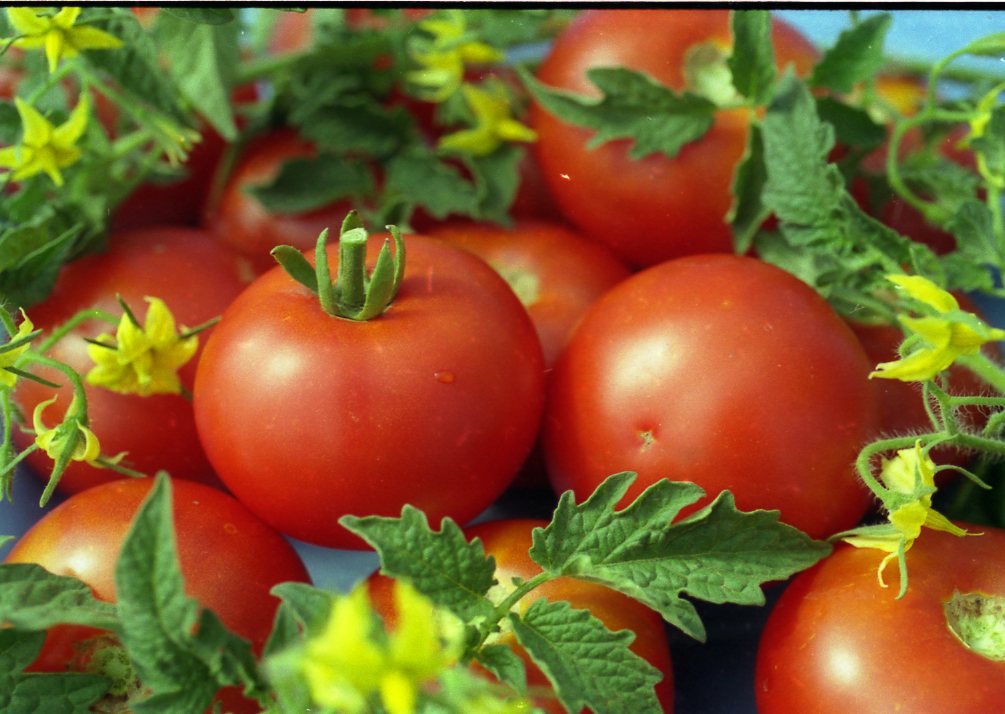
Today, there are special varieties called "balcony tomatoes." This variety is called "Balcony Miracle." It is characterized by limited growth (up to half a meter) and rapid ripening (up to three months). Each plant produces an average of 2 kg of round, red fruit. This harvest is suitable for salads and preserves. These tomatoes require careful care. They require ample light, but don't require staking.
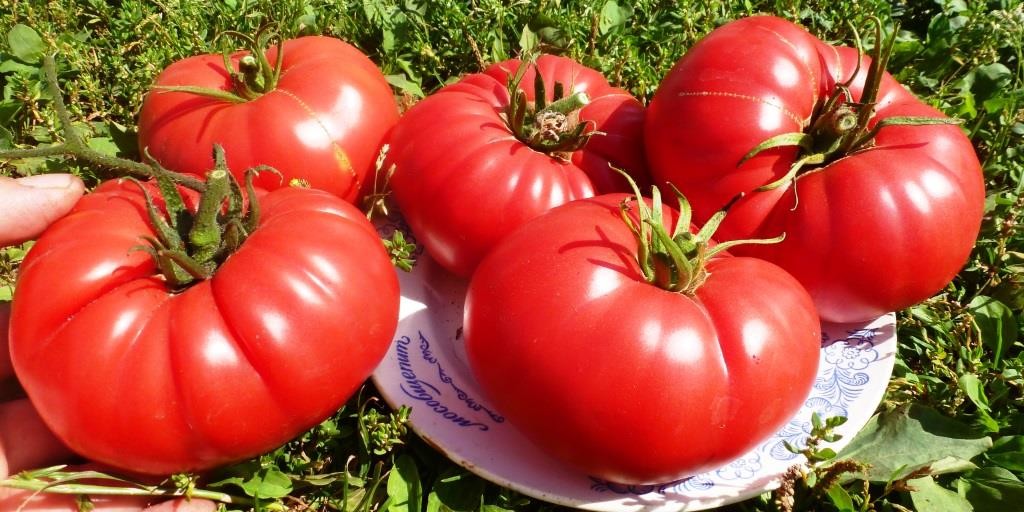
You can also grow the White Filling or Bull's Heart varieties indoors. However, they are tall, so they should only be planted on the floor. Experienced gardeners also recommend the Angelica, Ballerina, and Zhemchuzhinka varieties. The yellow-fruited Florida Petite is also considered a balcony variety. All of these vegetables produce well on balconies.
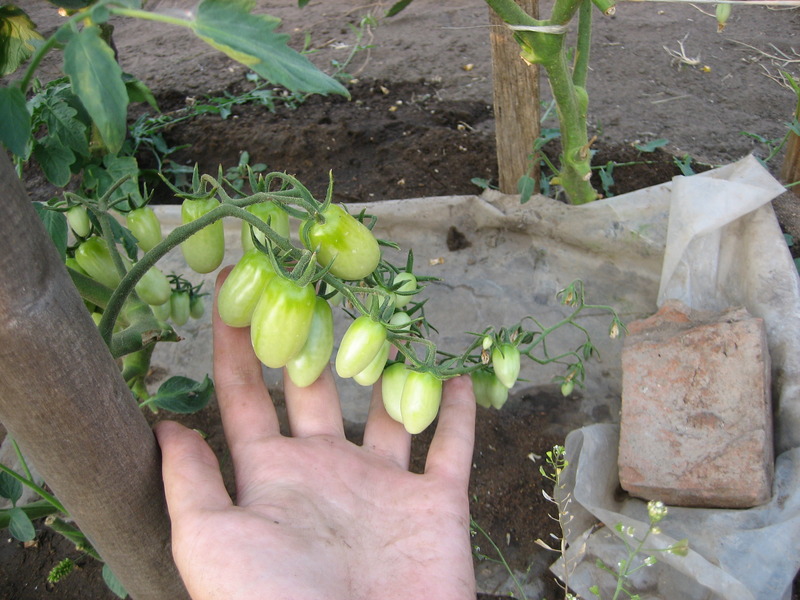
You can also grow cherry tomatoes on the balcony.
Video: Growing Tomatoes on a Balcony
A video about how and how difficult it is to grow tomatoes on a balcony or windowsill.
Preparing soil and seeds
Balcony tomatoes only produce excellent fruit if they grow in the right soil. Therefore, special attention should be paid to soil preparation. A special soil mix is readily available. Ideally, it should consist of equal parts turf and humus. Sawdust or peat can be added to the soil to further loosen it. The best fertilizers include superphosphate, potassium sulfate, saltpeter, and even wood ash.

How to grow tomatoes on a balcony? First, prepare the seeds. This process takes place between late February and early spring. First, place the seeds on a cloth and cover them with warm water. Then, leave the seeds in a warm place until the first sprouts appear.
There are various ways to plant the plants. For example, you can fill cups with soil and pour boiling water over them. A plastic bottle with the top cut off works well as a cup for growing tomatoes indoors. Then, make holes in the soil and place the seeds in the holes. Sprouted seeds are placed one at a time in each container, while unsprouted seeds are placed 2-3 at a time.
There's no need to poke holes in the bottom of the cup, as the liquid penetrates and is absorbed easily through the small volume of soil. After all these steps, place the containers in a warm place and cover with plastic wrap. Sprouts will appear in a couple of days. After a few days, move the seedlings to a cooler location. Water the seedlings as the soil dries out.

Another planting option is to pre-treat the seed with potassium permanganate. The seed is then placed in a soaked cloth on a plate, then wrapped in cellophane. The seed should be kept in a humid and warm environment. The sprouted seed is placed in soil, covered with glass, and returned to a warm environment.
Once the young shoots emerge, the containers need to be provided with sufficient light. Regular watering with warm water is also essential.
Sowing
Tomatoes on the balcony can be grown in garden soil or store-bought soil. Soil from a nightshade bed works best. You can also make your own soil mix by mixing equal parts peat, turf, and compost.
The most important step in preparing seedlings for planting is preparing their containers. Wooden or plastic boxes, conical buckets, and large pots are all ideal for this purpose. Vegetables require 3 liters of soil.

Next, you need to create a drainage layer to remove excess water from the plants, which can be harmful. The easiest way to do this is to place small pebbles at the bottom of the containers. Then, add the potting mix, filling the container one-third full.
When planting, place each seedling 2 cm lower in the soil than it was in its previous container. Cover the plant with soil and water it generously at the roots. The vegetables can be exposed to sunlight after 7 days, once the roots are firmly established.
It's important to remember that indoor tomatoes suffer from excess moisture and lack of air. Therefore, on cool nights, containers with seedlings should be placed in a warm room. Conversely, in hot weather, balconies, especially glazed ones, need to be well ventilated.
Caring for seedlings
In mid-spring, the plant requires mineral fertilization. Afterward, it's time to transplant the vegetables into larger containers, such as buckets. It's recommended to poke holes in the plastic container to allow excess moisture to drain. This will also provide oxygen to the roots. Add soil to the bucket, plant the seeds a couple of centimeters deep, and water thoroughly. Taller plants should be tied to a support. Then, leave the plants alone for a week to root.

Seedling growth should be accompanied by tying and adding soil to the containers. Regular watering and weekly fertilizing are the key components of plant care.
Over time, side shoots appear on the vegetables, which need to be removed, leaving just two stems. If the tomato variety is short, it can be trained to have three shoots. Diseased and yellow leaves should be removed. After fruit sets, the lower leaves should also be removed.
Complete pruning of leaves on a balcony is not recommended, as it can disrupt the plant's natural metabolism. Lateral shoots growing from the leaf axils should be removed. Avoid allowing the plant to become overcrowded. It's best to perform all these procedures in the morning.
At least four clusters of ovaries are left on each stem, and the tops of the bushes are completely pinched. A special feature of balcony tomatoes is that they do not require insect pollination, as they are parthenocarpic varieties.
Once the fruits have fully formed, the top of the bush should be trimmed, as should all the blossoms. Otherwise, the tomatoes will develop abnormally. It's best to harvest the tomatoes when they're still immature; they'll ripen fully indoors.

Balcony vegetables are just as susceptible to diseases and pests as garden vegetables. At the first sign of late blight (dark spots on the green parts of the plant), the crop is treated with a special preparation.
Additionally, the plant can be attacked by pests such as spider mites and whiteflies. These can also spread to other plants, so it's important to closely monitor the crop and prevent these "enemies" from attacking it.
Transfer
Once the young seedlings have become strong, they should be transplanted into larger containers, separated from each other. The seed packaging usually specifies the time for transplanting them to their permanent location. This is typically 30 days after planting. You can also base this on the plant's condition. Once its roots have grown to fill the entire container, it's time to transplant.

A cylindrical container filled with fertile soil is ideal for a "permanent home" for vegetables on the balcony. Fertilizing is advisable after the roots have developed. Complex feedings are applied at 10-day intervals.
The frequency of watering depends on how quickly the soil dries out. The watering should be sufficient to completely hydrate the root ball.
A balcony with open windows is the best place for the crop, starting from the end of spring, when the air temperature reaches 15°.
Note
Growing vegetables on a balcony has its secrets. Here are a few:
- It's best to grow tomatoes on a balcony facing south or southeast. This is because tomatoes thrive in warm temperatures. A north-facing balcony is unsuitable for growing tomatoes.
- On an unglazed balcony, planting should take place no earlier than April. During this period, daytime temperatures should be no lower than 23°C, and nighttime temperatures should be no lower than 13°C, and even higher during flowering.
- Humidity levels between 60% and 65% are optimal for plants. Higher levels can promote fungal diseases, so the balcony needs regular ventilation.
- The ideal water for watering plants is warm.
- It's best to place seedling containers on special slats. Ideally, place the slats in a trough, and then the boxes in the trough.
- Frequent fertilization with nitrogen and organic fertilizers will make the plant grow vigorously and tall. However, such plants have poor flower and fruit development. Therefore, fertilization should be done no more than once every 10 days.
- The vegetable branches may break under the weight of the fruit, so it is better to tie them to a support.
- The key to accelerating bush formation is to pluck small roots. To do this, simply pull the plant upward by the base of the stem.

So, growing tomatoes on a balcony is within anyone's reach. The key is to learn the steps and follow the recommendations. The growing process will bring only positive emotions, as will the resulting harvest.
Video: "How to plant tomatoes and greens compactly on a balcony"
A video from the program "Everything Will Be Fine" about how to grow tomatoes and herbs on a balcony in the most compact way.