Why is it necessary to transplant tomatoes?
Content
Why is picking necessary?
Since most gardening novices wonder why transplanting is necessary, we'll start by explaining what this procedure is.
Pricking out tomato seedlings involves transplanting prepared young seedlings into new, individual containers or into open ground. When planting seeds, plant several per hole. This is necessary to increase the likelihood of germination. After the seedlings emerge, divide the seedlings if more than one has sprouted. This will prevent various diseases and the sprouts from becoming leggy.

With numerous seedlings, the plants may not receive enough sunlight. Since tomatoes are sun-loving, this can impair their growth, and the shoots will eventually begin to wilt, which will impact the future harvest. This is why tomato seedlings are pricked out. During the transplanting process, gardeners should also remove small root suckers. This will allow the root system to branch out, improving the plant's nutrition.
Many novice gardeners don't know how to transplant tomatoes, so they may start the process at the wrong time or forget something. Knowing the right time to transplant is crucial, otherwise, it can lead to the death of the seedlings.
If novice gardeners are transplanting tomatoes at home, they should be aware that in some situations, removing the lower root shoot is not an option.
In the first case, seedlings are not pricked out if the soil is not planned for watering at home. Moisture will be absorbed into the soil naturally through rainfall. The roots can also absorb moisture from deeper soil layers, which significantly complicates the process if the roots are less branched.

Pricking out tomato seedlings is also not advisable if the region experiences limited summer sunshine. A short, warm season will force the plant to expend more energy on root development, which can lead to a delayed harvest.
In other cases, picking young tomato seedlings is a reasonable method of preparing the crop for planting. If done correctly, the tomato grows faster and improves its performance, which is ultimately the goal of growing this crop.
Video: "Tomato Seedlings: From Germination to Picking"
Instructions for caring for tomato seedlings from germination to transplanting, as well as a guide to the transplanting process itself.
When to do it
Once the decision has been made to transplant tomatoes at home, it is necessary to know the most suitable time.
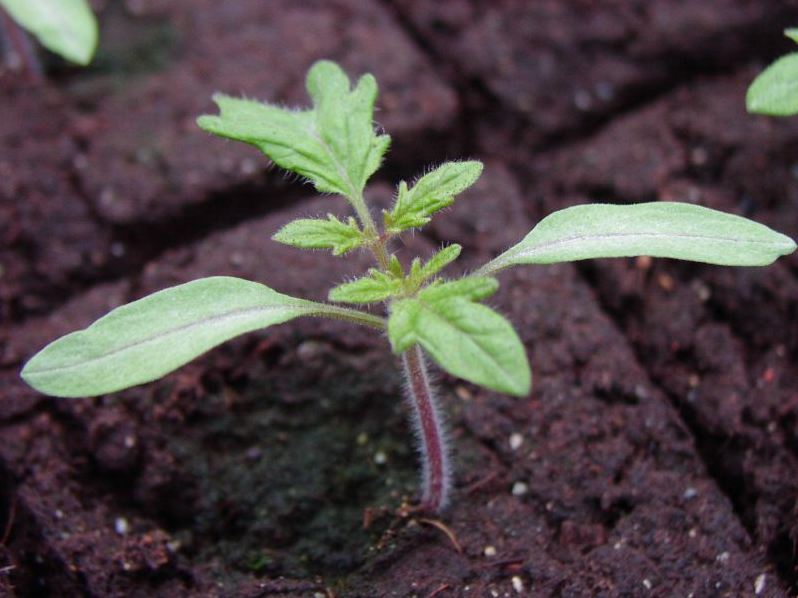
You can begin transplanting after the first leaves appear on the seedling. On average, this can be done 8-10 days after germination. It's best not to transplant any earlier, as the young plant's roots are still very weak. Therefore, you can give it a few more days to strengthen.

However, when growing tomatoes at home, pay attention to the variety you're preparing for planting. Furthermore, the soil can affect the plant's growth. Therefore, the appropriate time for transplanting can vary from 3 to 7 days from the generally accepted time, as tomato growth varies. Always pay attention to the appearance of the seedlings to avoid delaying the procedure.
How to dive
Pricking out plants at home isn't very difficult. Simply follow all the rules to achieve the desired result. It is recommended to start with the least wilted or small plants and try the procedure on them.
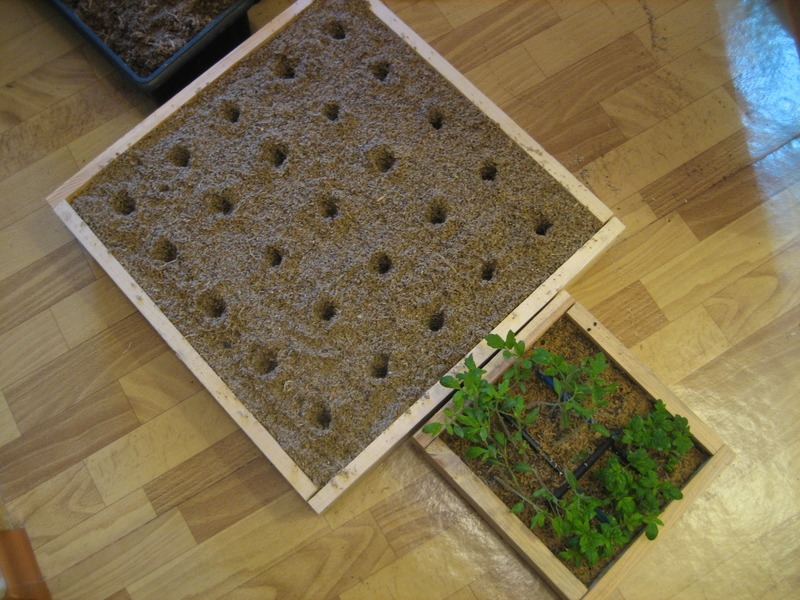
First, gardeners should prepare a container of the required volume. 200 ml disposable cups are best for this; you can also use tablet-type trays or special boxes up to 15 centimeters deep.

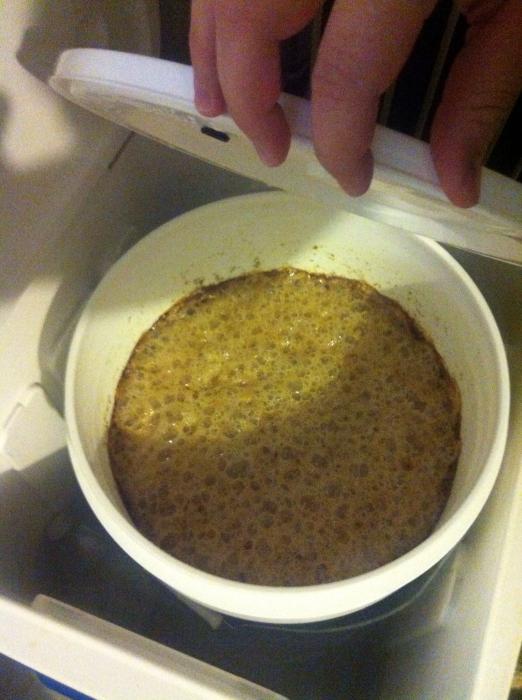
Next, you'll need to prepare the soil for planting. Experienced gardeners typically prepare it in the fall, mixing equal parts of turf, sand, compost, and peat. This mixture sits all winter, and by the time you plant the tomato plants, it's ready.
Once the soil is ready, you can begin transplanting the seedlings. To begin, use a small shovel and wear gloves to minimize contact with the plant. This is because human body temperature is higher, and contact is undesirable for young seedlings. A shovel can also be used to transfer the plant to the container without damaging its root system.

Once you've dug up the bush itself, remove about half a centimeter (no more) from the main root. Then, place the tomato plant in the soil. First, dig a small hole for it and moisten it with water. The seedling should be buried up to the lower cotyledon leaves. When planting is complete, compact the soil lightly, water it a little more, and then cover with soil or sand.
As you can see, even a novice can transplant tomatoes at home if they're carefully chosen. Proper care is required, otherwise, the seedlings may wilt, and planting outdoors will have to be postponed.
After proper picking, plants quickly acclimatize to a new location.
With proper care, you can accelerate the growth of your bushes. This will require adding fertilizer to the soil, maintaining moisture, and ensuring the seedlings receive plenty of sunlight.
When caring for plants, remember that the first feeding should be done ten days after transplanting. You can use a special Agricola solution or a Kornerost stimulator. To use them correctly and avoid overdosing, carefully read the included instructions.
Why do plants need additional fertilizer if the soil has already been fertilized? This question is often asked by beginning gardeners. The reason is that seedlings absorb most of the nutrients even before the first leaves appear. Additional fertilizer helps restore the balance of micronutrients in the soil, which tomatoes need for rapid growth.

Fertilizing improves the crop's properties and can increase future yields. For this reason, such vegetable care measures should not be neglected. Under suitable conditions, seedlings grow better and are significantly less susceptible to disease.
Proper care also requires timely watering of the plant's soil. The soil shouldn't be allowed to dry out, as tomatoes thrive in moist soil. Try to water the seedlings at least once every three days.
Video: "Picking Tomatoes"
The author of the video talks about his method of picking vegetables.