When and how to properly transplant pepper seedlings?
Content
Should I dive?
The root system of peppers is quite fragile and sensitive, making transplanting much more difficult than, say, tomatoes. This is why amateur gardeners often ask: is it really necessary to transplant peppers?
But we can't ignore the fact that transplanting peppers provides the young plant with more space to develop, providing ample nourishment for the plant's root system. Meanwhile, seedlings growing in a shared container begin to increasingly shade each other after a while, and their roots become intertwined, making transplanting difficult. Therefore, the conclusion is clear: if peppers were planted in a shared container, transplanting is essential to ensure proper development and a full harvest.
Video "Pick-up"
This video will show you how to properly transplant peppers.
When to dive
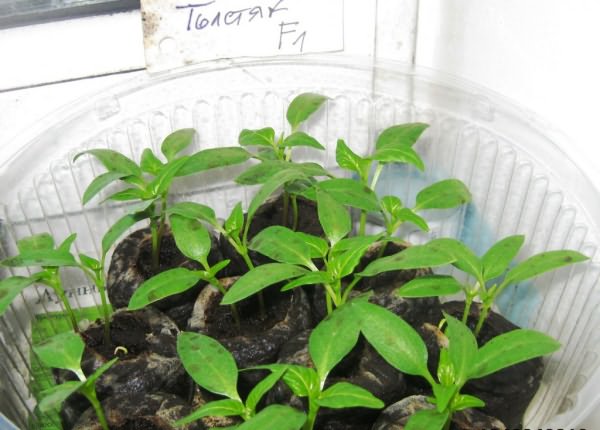
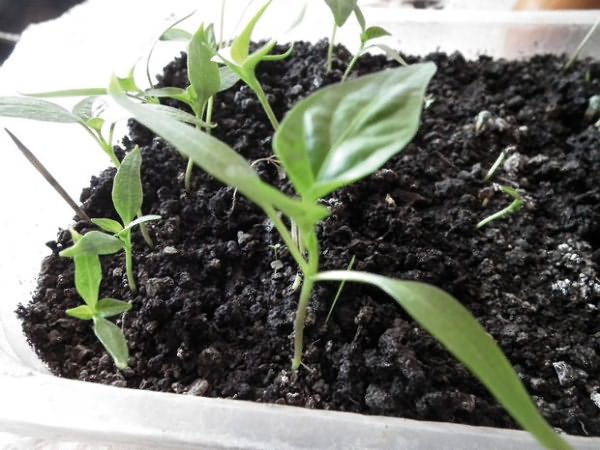
Experienced gardeners say that the earlier you transplant young peppers, the better the plants' chances of developing a strong root system. Typically, you can begin transplanting when the plant has produced 2-3 true leaves (this occurs approximately 20 days after germination).  The later you transplant, the more painful the process will be for the plant: after all, the root system develops every day, and it becomes increasingly difficult for it to survive the stress of transplantation.
Preparatory work
To ensure a successful transplant, you need to carefully prepare for the process. First, choose the right soil: a loose mixture of humus and peat is ideal for peppers.
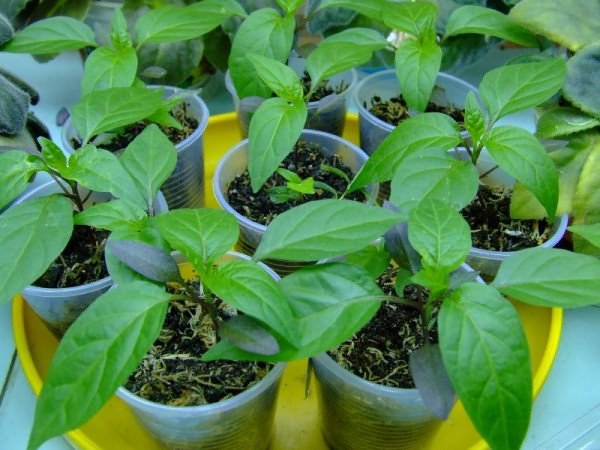
Peppers are transplanted into small pots with a capacity of up to 300 ml. It is not advisable to use deeper containers, as the plant's root system will not be able to take over the soil, which can lead to disruptions in the development process.
Technological features
When transplanting, the main challenge is to carefully and gently remove each plant from the soil, minimizing possible damage to the root shoots. This is easiest to do using a small shovel or a regular tablespoon. If you've removed several seedlings at once, transplant the strongest and most developed ones first. Avoid planting the seedlings too deeply—cover them with soil exactly as deep as they were previously planted. After transplanting, firm the soil around the young shoot and water it moderately.
When transplanting, it's crucial to monitor the position of the main root shoot—it shouldn't bend counterclockwise. This position of the main root system element can stunt the growth of the entire plant.
Care after the dive
Be sure to keep in mind that after transplanting, young peppers should be placed in a well-lit area, but protected from direct sunlight. Ideally, place the cups containing the transplanted seedlings in the same location where the pot containing the small seedlings was located—this will give the plants an extra head start for successful development.
Don't neglect timely fertilization either—be sure to apply the first fertilizer 10 days after transplanting. A solution consisting of ammonium nitrate (10 g), superphosphate (40 g), and potassium sulfate (30 g) per 10 liters of water has proven to be the most effective.
For each plant in a separate container, 100 ml of the specified solution is sufficient.
Peppers can be grown without transplanting, but sowing requires special care – the seeds must be placed in a large enough container to prevent the roots from coming into contact with each other as they develop. Otherwise, transplanting into a permanent bed can cause significant damage to the plants and even deprive the gardener of the expected harvest. Another option is to sow peppers directly into individual containers, 1-2 seeds at a time, and then simply transplant the young seedlings into the garden bed. The choice is yours; the main thing is to properly care for both the young seedlings and the mature plants, and a harvest is guaranteed!
Video "Leaving"
From the video you will learn how to care for peppers.