DIY compost bin building options: photo examples, video
Content
Construction and principles of a compost pit
It takes at least two years for organic matter to become a high-quality fertilizer. During this time, garden waste is exposed to various external factors: air, moisture, worms, insects, and soil microorganisms. However, by building a proper composter, the decomposition time can be reduced significantly. Some gardeners prefer to create compost piles, but these significantly spoil the appearance of the property and also emit an unpleasant odor.
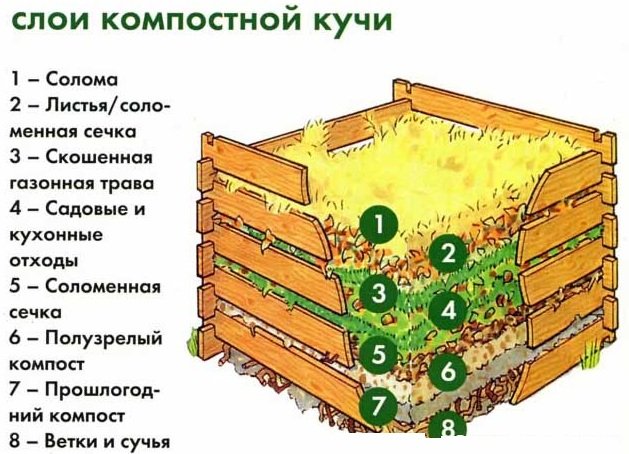
When constructing a structure, its size, structure, and material are of crucial importance. The larger the structure, the higher the processing temperature, and the more efficiently the waste is decomposed. The average pit has the following parameters:
- depth – 1 m;
- width – 2 m;
- length – 3 m.
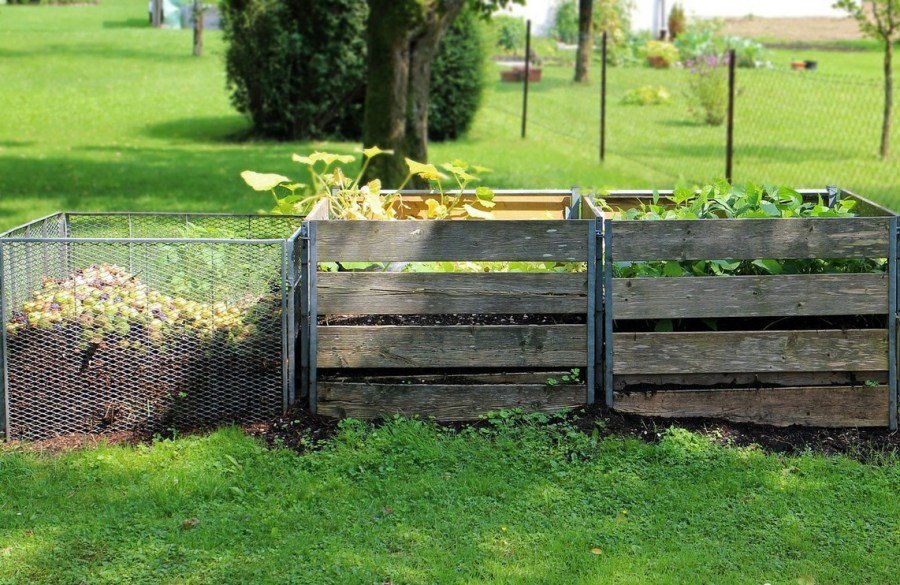
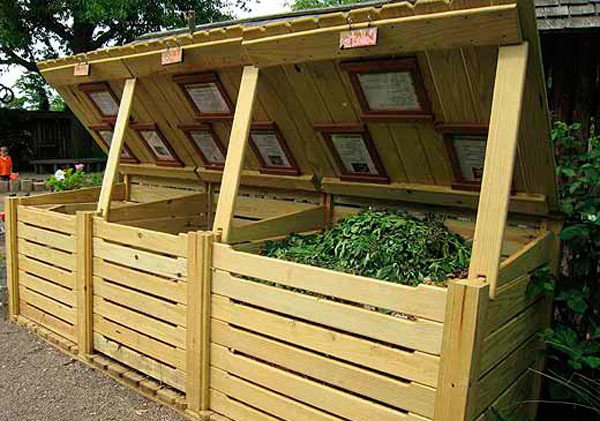
Typically, the structure has two compartments: one for fresh compost and one for finished compost. Sometimes an additional section is added—for fermentation. To ensure free access of oxygen, the walls must be gapped. A hinged lid is always installed on top to prevent the top layer of humus from drying out. The bottom of the composter is left open to allow better contact with soil microorganisms. To make it easier to remove the finished fertilizer, the front wall is removable.
Almost any available material can be used to make the pit: slate sheets, car tires, boards, construction mesh, etc. It's best if the surface of the structure is dark. This will increase the temperature under the lid, which will improve the results.
Ingredients for compost
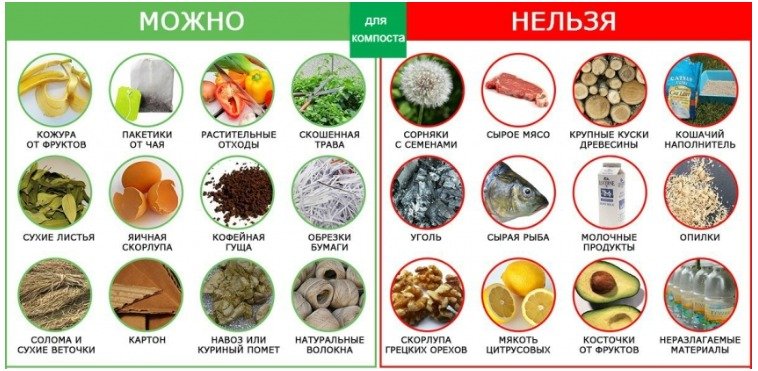
To obtain nutritious compost rich in beneficial micronutrients, garden waste must be used selectively. The best components for organic fertilizer are:
- herbaceous plants;
- fruit, berry or vegetable waste;
- tea leaves;
- eggshells;
- cereals;
- wood sawdust, branches, bark;
- needles;
- fallen leaves;
- plain white paper of varying thickness;
- mullein;
- bird droppings.
To improve the quality of compost, gardeners recommend adding mineral fertilizers, dolomite flour, and wood ash to the pit. To speed up decomposition, each layer of waste is sprinkled with soil.
The following ingredients must not be added to the composter:
- weeds after flowering;
- plants affected by fungal diseases;
- crops treated with chemicals;
- fruit pits;
- pet waste;
- synthetic waste;
- food of animal origin.
Selecting and preparing a site
Since a compost bin is a place where organic waste decomposes, it's important to install it in a way that doesn't harm you or the environment. It should be at least 20 meters away from natural or artificial water bodies. Care should also be taken to ensure that rainwater doesn't flow into drinking water sources.
It's best to maintain a distance of 10 to 30 meters from residential buildings. The composter should be located in a shaded area, well sheltered from the wind. Fruit and berry crops should be kept away from nearby areas, as there's a high risk of groundwater contamination from decomposing garden waste. Ideally, the composter should be installed in a remote, inconspicuous corner of the garden, with easy access or a path.
Video: "DIY Compost Pit"
In this video, experts explain how to make your own compost bin.
Options for making a compost pit yourself
Building a compost bin at your dacha is fairly simple. The key is choosing the right location and the right materials. We'll discuss the construction and installation of various structures in more detail below.
Classic earthen pit
The simplest option, requiring little investment, is to dig a hole of the required size in the selected area, line the bottom with an organic drainage layer, and top with garden waste. The structure is then covered with plastic sheeting, slate, or dry grass.
From boards
Having determined a suitable location for the structure, they dig in the corner wooden posts, pre-treating them with an antiseptic. Boards are nailed horizontally between them, leaving a 30-50 mm gap. A hinged lid is installed on top, securing it with hinges to the back wall.
-
- Combined option
-
- Closed type
-
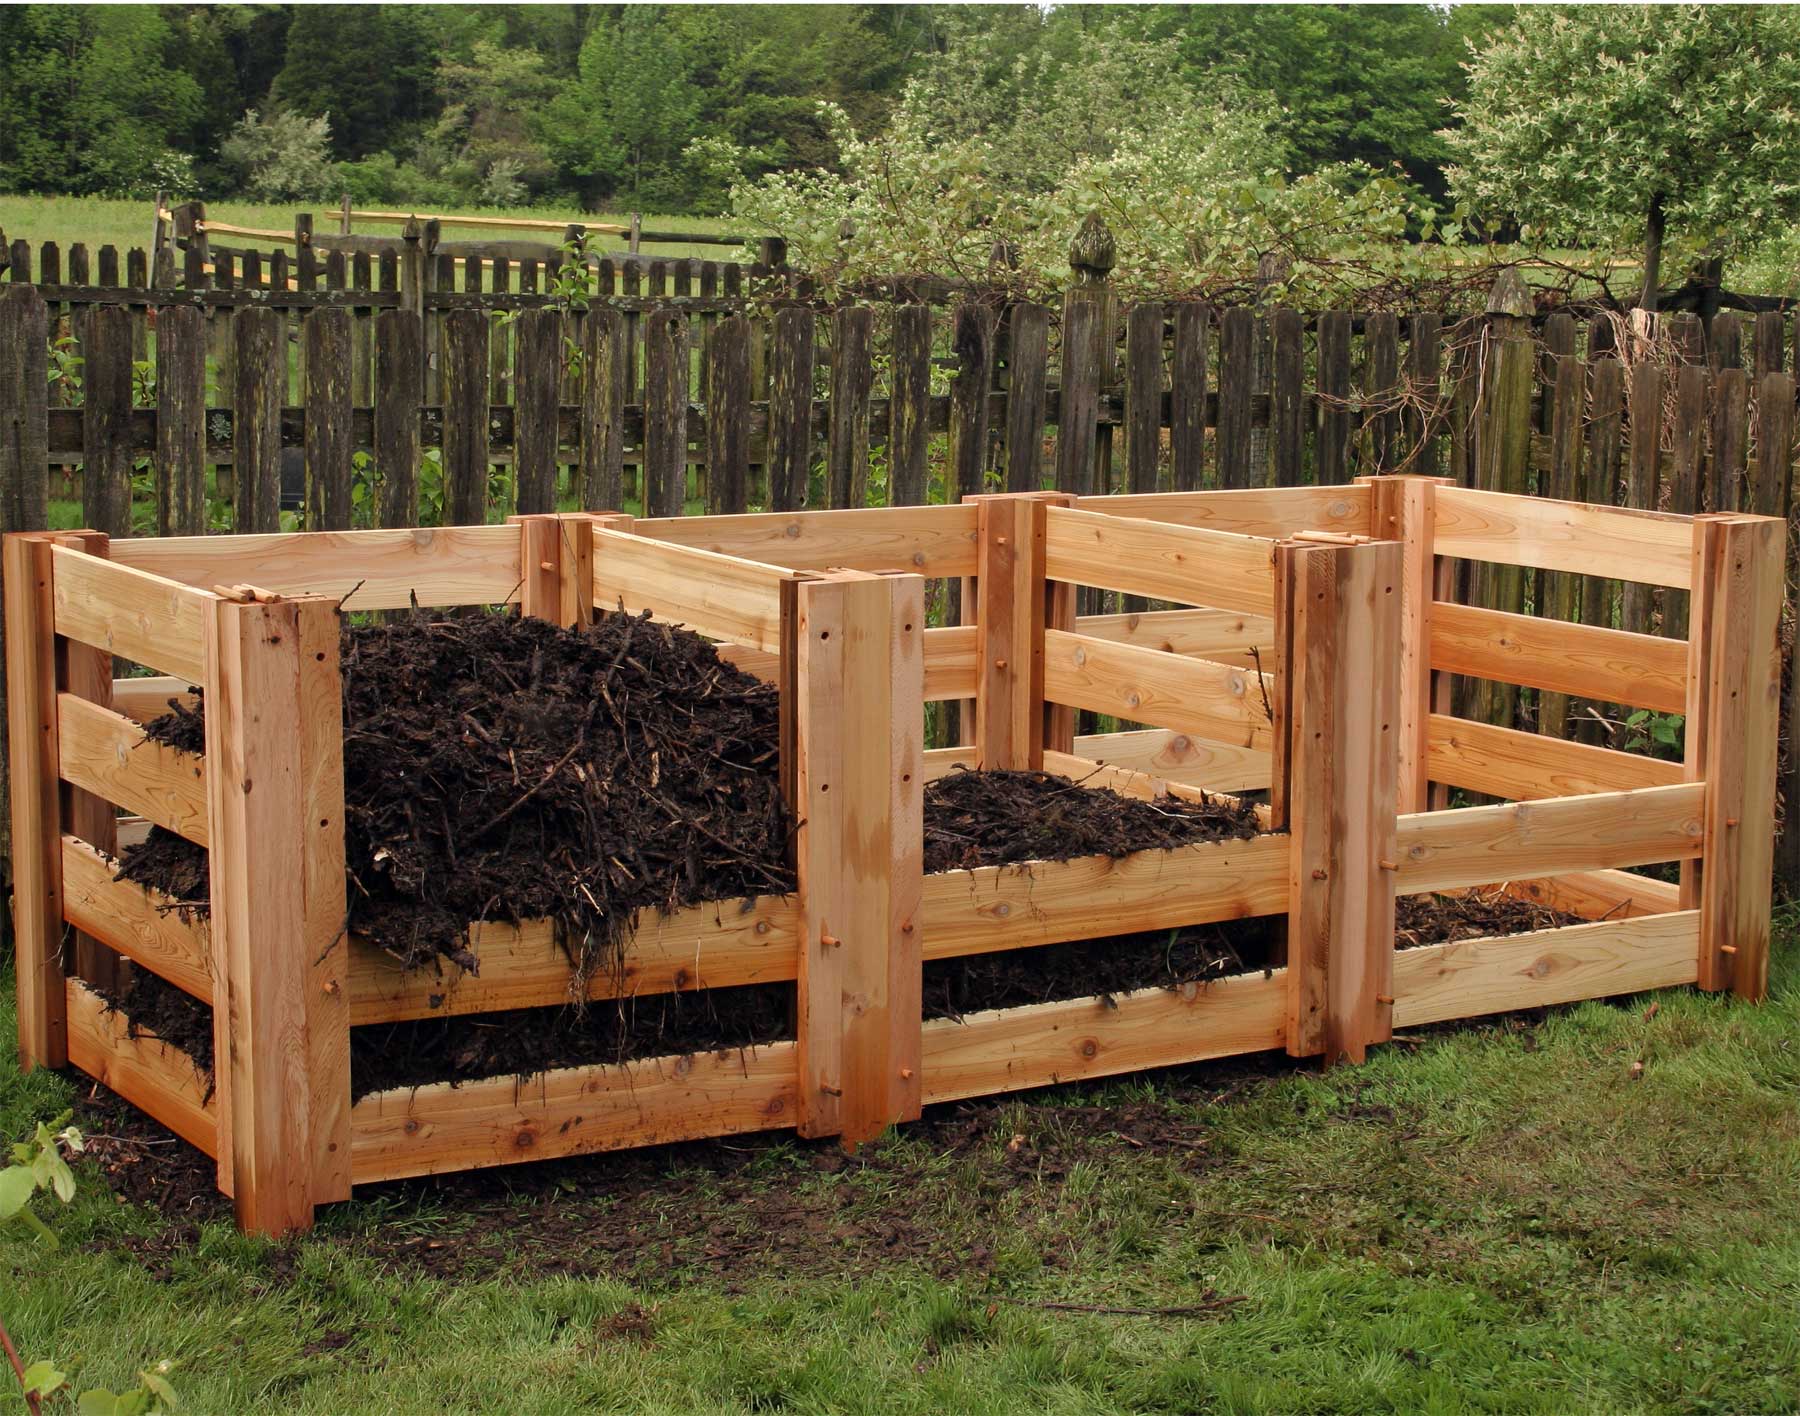
- Open type
Made of slate
After marking the area, small metal piles are driven into the corners, to which a wooden frame is attached. Next, the entire perimeter of the structure is lined with slate sheets, deepening them a few centimeters for stability. The front wall is built slightly lower than the rest to allow for easy removal of the compost. The composter is covered with plastic sheeting, boards, or plywood.
Made of corrugated sheets
For such a pit, it's best to use a profile with an anti-corrosion coating. Once the dimensions are determined, a wooden frame is installed on the site, which is then covered with corrugated sheet metal, leaving 30-50 mm gaps between the sheets. The structure's roof is removable, made of chipboard or regular boards.
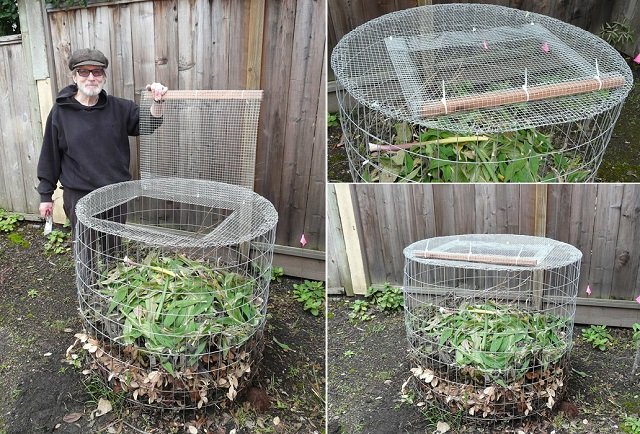
Made of metal mesh
A suitable location is selected on the site, where vertical posts are installed in a circle or perimeter. A metal mesh is wrapped around them, leaving a 20 cm gap and securely fastening the ends. Polyethylene is placed inside, securely fastened to the top edge of the structure. This composter is quite convenient, as it works like a garbage bag.
Made of brick
There are two ways to build a compost pit of this type: with or without a cement base. The second option is more efficient, as it allows for the structure to be moved to another location. It should have three brick walls, and the front section is removable to facilitate unloading the fertilizer. A lightweight hinged lid is installed on top.
Made of concrete
This is a reliable, yet rather expensive, option. Having identified a suitable location, a hole of the required size is dug. Formwork and reinforcement are installed 15 cm from the walls. The space between them is then filled with liquid concrete. After a week and a half, all unnecessary structures are removed, after which a brick curb of approximately 0.2 m is built. The roof is made of metal mesh.
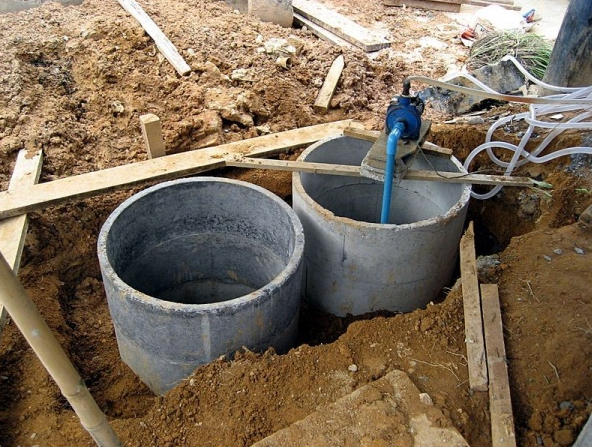
From concrete rings
If you have ready-made concrete forms, you can make your own composter very quickly. The rings are sunk slightly into the ground and covered with plywood, slate, or wooden planks. A drawback of this type of structure is the lack of a lowered edge, making it difficult to unload the compost.
From a cesspool
In this case, organic fertilizer is obtained not from garden waste, but from human waste. To ensure high-quality compost, the septic tank is not clogged with detergents, as chemicals destroy anaerobic microorganisms. The pit is kept covered for a month, with a small amount of bio-preparations added. The finished compost is uniform and has no distinctive odor.
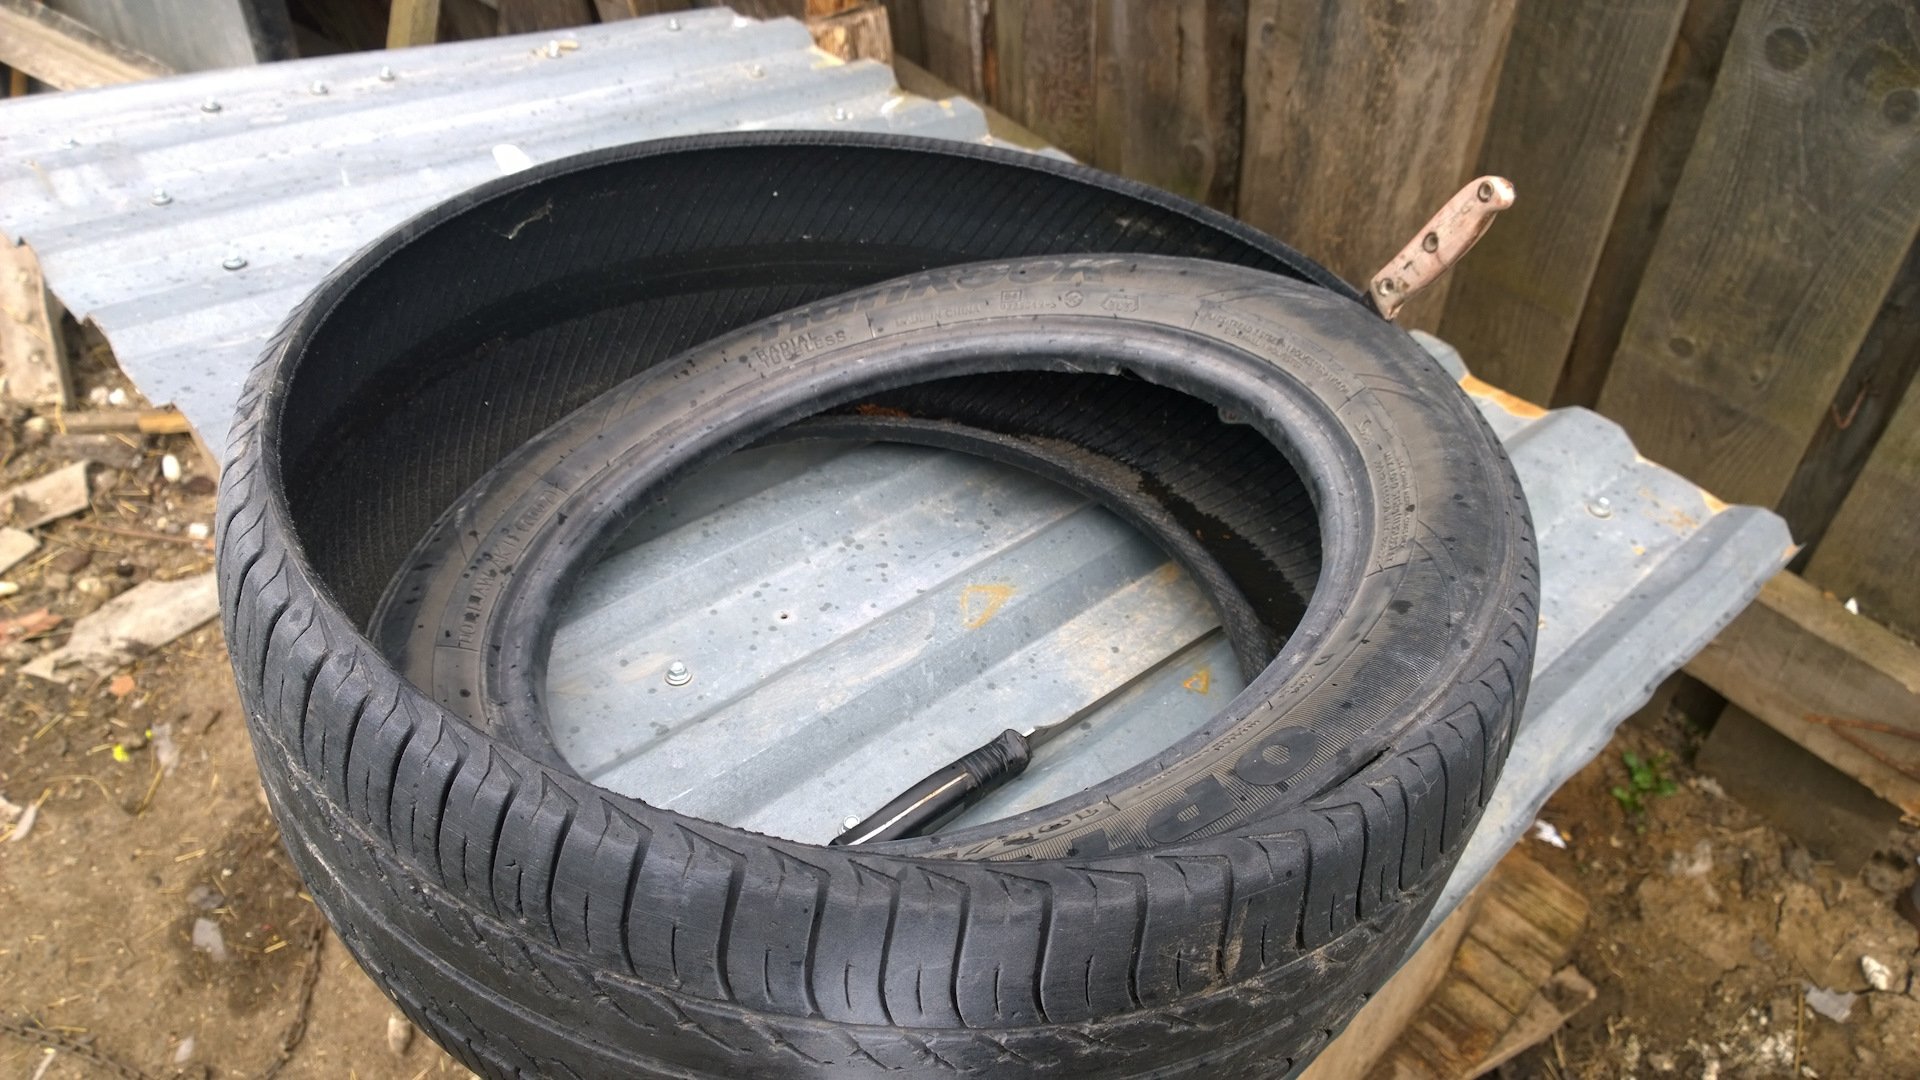
From car tires
To make this composter, you only need two pairs of old tires. The curved sides are trimmed with a sharp tool, then stacked on top of each other, and the top is covered with chipboard or slate.
In an iron barrel
Knock out both bottoms of the old container with a heavy hammer. Place the barrel in a pre-prepared spot, digging it slightly into the ground. For better heating, paint the surface black, and pour ammonium nitrate over the contents. To remove the finished fertilizer, simply lift the hole.
In a plastic barrel
This composter produces high-quality compost in just two weeks. To do this, fill the container halfway with organic waste and then fill it to the brim with water. Fermentation begins in 3-4 days. Once some of the solution has been used, add more liquid and let it sit for about a week.
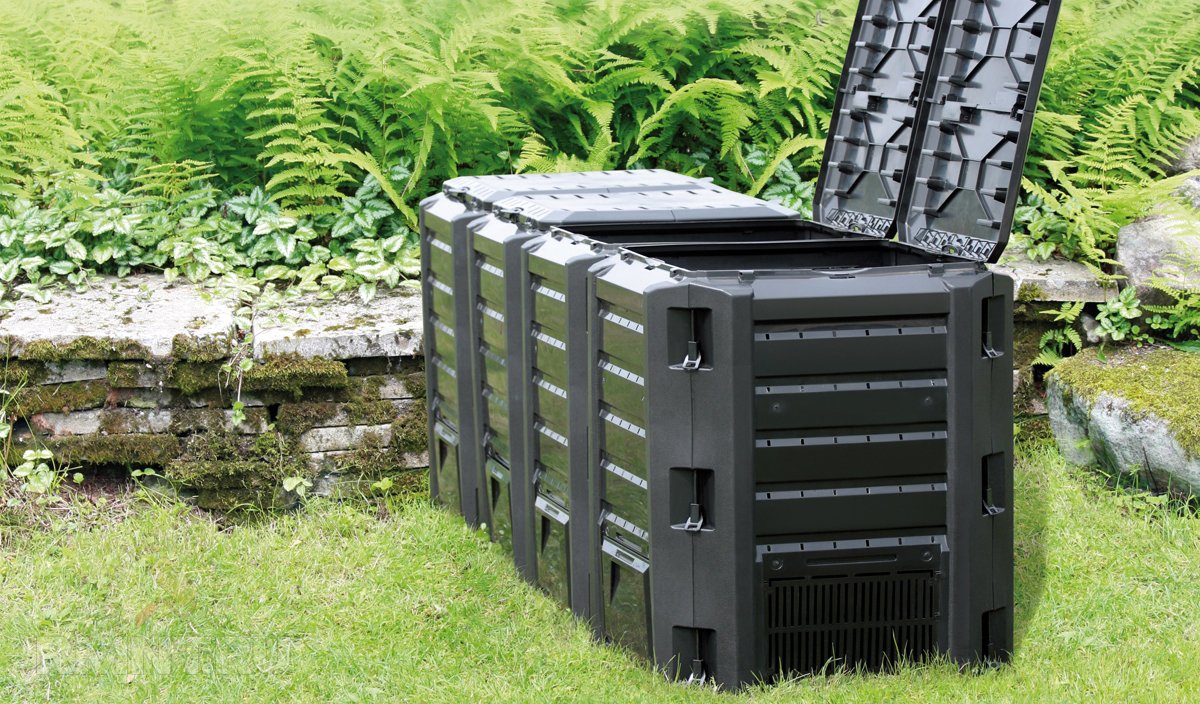
Using Finnish technology
This is a ready-made plastic structure consisting of two compartments with a capacity of approximately 80 liters. Essentially, the structure is a mobile composting toilet, where the contents are mixed with sawdust and peat. When one of the containers is full, it is emptied, washed, and then installed. The resulting fertilizer is highly concentrated, so it is diluted with sand or soil before use.
Rules for operating a compost pit
Beginner gardeners often make mistakes when using a compost bin. Most of these arise from an improper balance of ingredients and the use of inappropriate EM products. For example, anaerobic microorganisms are used for sealed structures, while only aerobic ones are used for breathable ones. To prevent compost spoilage due to excessive nitrogen content, grass clippings are kept outdoors for several days before composting. It is also contraindicated to combine organic waste with inorganic or protein-based waste, as the latter cannot be recycled.
After filling the compost bin with garden waste, check the contents regularly. This way, you won't miss the moment when you need to adjust the decomposition process. To ensure high-quality fertilizer, follow these simple rules:
- If there's been no rain for a long time, add regular water to the composter. This will prevent the top layer from drying out, maintain the population of effective microorganisms, and speed up the process.
- Before filling the hole, add sand, peat, or dried leaves to the bottom. This drainage will create a nutrient-rich layer that will improve the quality of the humus.
- Every 14 days, loosen the pile to provide air circulation to the lower layers. If the compost is too dense, you can prick it a few times with a pitchfork.
- Add the necessary EM preparations for better decomposition (Kompostin, Compostar, Embionik, Baikal-EM1, etc.).
- Periodically add prepared compost substrate. This will increase the number of waste-processing bacteria.
- Cover roofless structures with dark spunbond. The black color improves heating capacity and also creates a greenhouse effect necessary for rotting.
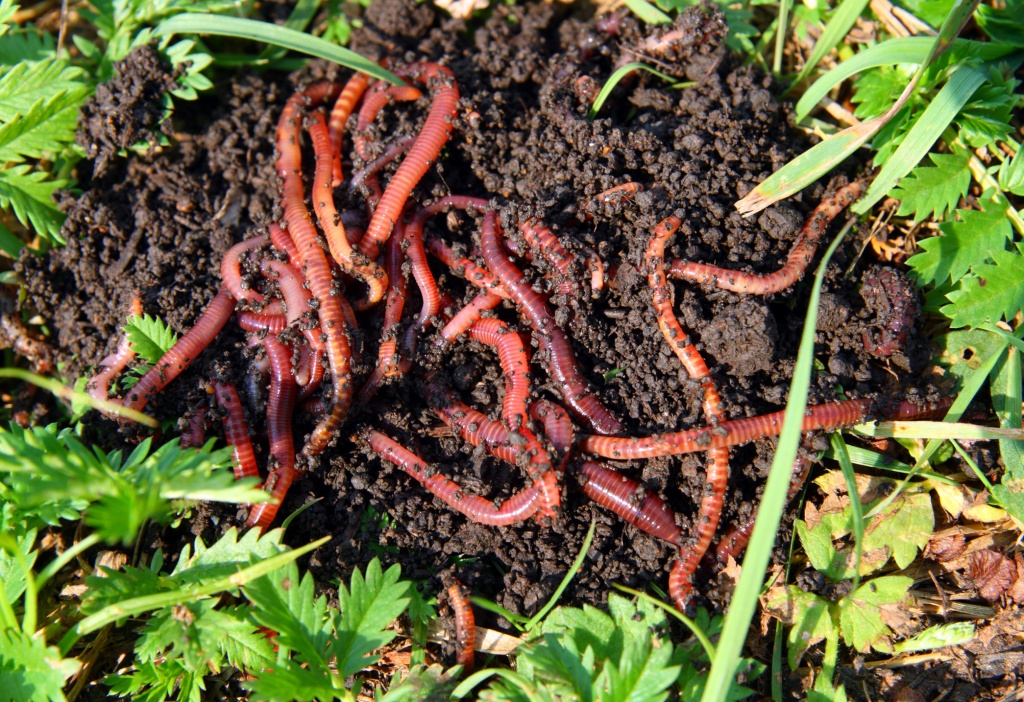
- If possible, add Californian worms. They effectively loosen the soil and also partially help break down organic matter.
Reviews from experts and summer residents
"At our dacha, we have a regular iron barrel covered with slate. We regularly dump garden waste in it, so we have access to nutritious humus year-round. Our only advice is to place it away from the house, as it doesn't give off the most pleasant aroma."
"As soon as we built our country house, we immediately decided to install a compost bin. We built a substantial one out of concrete, with three sections: one for fresh waste, one for fermented waste, and one for finished waste. There's a slight odor in extreme heat, of course, but the structure is at the end of the yard, so it's not a big deal."
"When I inherited my dacha, there was already a compost heap there. However, it was poorly constructed, causing a lot of inconvenience. After we tidied up the property, installed a Finnish composter, and all the problems disappeared. It's neat, portable, convenient, and most importantly, completely odorless."
A compost bin is a necessary addition to any yard, as it allows for the efficient processing of organic waste. It doesn't take much time to construct, and it can be made from any readily available material.