How to grow persimmon from a seed at home: step-by-step instructions
Content
Selection and sorting of planting material
Experienced gardeners have long understood one rule: crops and varieties genetically native to a given region grow and bear fruit best. This rule applies to persimmons as well. Therefore, it is recommended to choose persimmon varieties cultivated in Russia, particularly in the Caucasus. The best options are undemanding, hardy, and frost-resistant varieties such as Rossiyanka and Virginskaya.
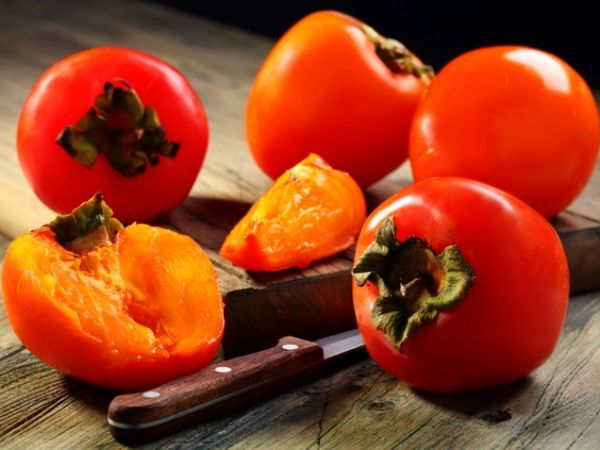
You can sprout seeds from store-bought persimmons at home. However, you can't be sure of the variety, so you might make mistakes in care and not get the desired results. The ideal option is to choose the fruit yourself. The best fruit for growing is overripe fruit that remains on the tree until the first frost.
Avoid choosing spoiled berries: the fruit's skin should be intact and undamaged. Be sure to also pay attention to the sepals: if there are traces of mold on them, they are infected with fungus and therefore unsuitable for planting.
Video: How to Grow a Persimmon from a Seed
This video will show you how to grow persimmon from a seed at home.
Stages of growing persimmons at home
You won't be a pioneer in growing persimmons from seed. All that's required is to strictly follow the persimmon growing steps and adhere to the necessary agricultural practices.
Seed preparation
Once you have selected a fruit suitable for planting, you need to properly extract the seeds from it and prepare them:
- Cut the fruit in half and carefully remove the seeds.
- Rinse and dry thoroughly. Before further processing, we recommend performing a small test of the planting material for suitability. To do this, place the seeds in a container of water for a while. Any that float to the surface are not suitable for planting.
- To disinfect seeds, place the seeds in a solution of potassium permanganate for 24 hours.
- File down the sharp edges of the seeds to make them easier to hatch. You can do this with soft, fine-grain sandpaper.
- Treat the seeds with a growth stimulant (this could be a special preparation like Epin, Ecosil, or diluted aloe juice).
- Wrap the seeds in damp cheesecloth, then cover with plastic wrap and leave on the side shelf of the refrigerator for 45 days. The ideal temperature is 4–5°C above zero.
Selection of soil and ground
You can buy ready-made standard soil for seedlings. However, you can also prepare the soil yourself. The key is to keep the soil light and airy. Otherwise, it won't allow moisture and air to pass through properly, water will stagnate, and the seed will begin to rot.
To prepare the soil, mix equal parts sand, peat, and soil. You can add fertilizer to enrich the soil with nutrients.
-
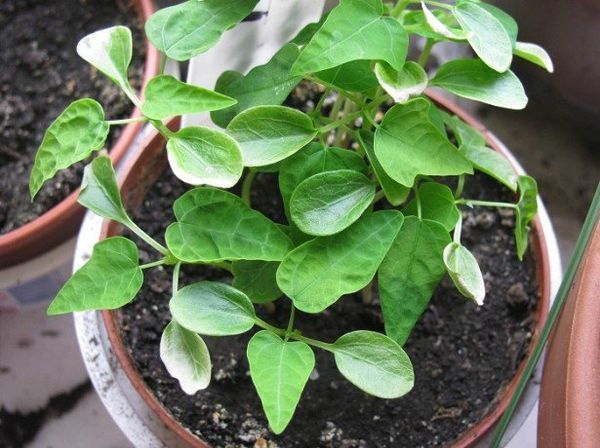
- The seed is planted in regular soil for seedlings
-
- The soil surface must be sprayed regularly.
-
- Fertilizer should be applied in liquid form.
Planting a seed
Fill a small pot or plastic container up to 10 cm in diameter with soil. Place the prepared and dried seed a couple of centimeters deep into the soil. The seed shouldn't be placed too shallowly, but it shouldn't be placed too deep either. The seed must receive sufficient moisture and air.
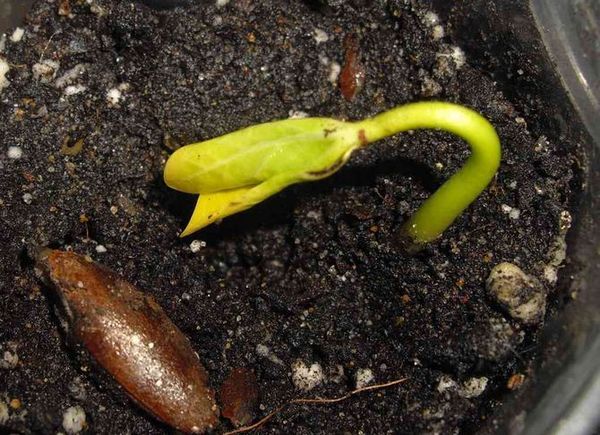
The germination process
After the seeds have been placed in the container, it should be covered with plastic wrap. The soil surface should be regularly misted as soon as the top layer of soil begins to dry out. The optimal temperature for germination is 21–23°C. Until the sprout appears, the plastic wrap should be lifted and the seedling should be ventilated to prevent condensation from causing rot.
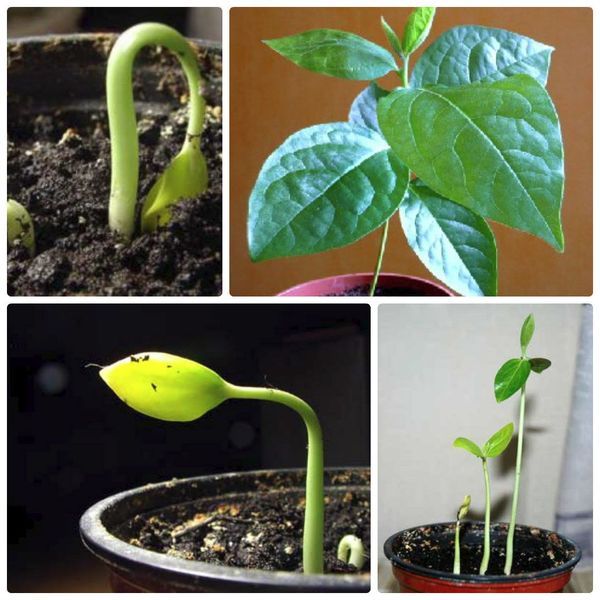
Germinating seedlings will shed their seed coats on their own and rest against the film. If this doesn't happen, remove the seed coat with tweezers, being careful not to damage the sprout. It can take about 30 days for the sprouts to emerge. During this time, the container can be placed on a sunny windowsill, but not in direct sunlight. For best results, the seedlings can be fed with a small amount of nitrogen-containing fertilizer.
Transplanting seedlings
Once the seedlings have grown sufficiently strong (this process can take up to 10 days), they should be transplanted into separate containers for further cultivation. Light, fertile soil is suitable for germination, but a drainage layer should be placed at the bottom of the pot. The seedlings should be provided with comfortable conditions and prevented from freezing. To do this, cover them with a glass jar. Remove the seedlings daily, air them out, and remove any condensation.
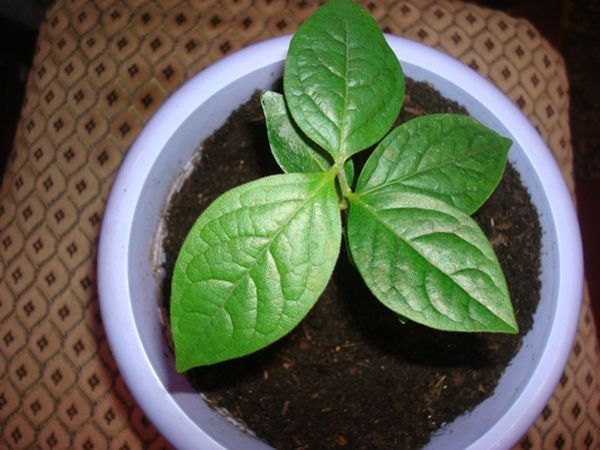
Caring for a young seedling
Persimmon care is the same as any other houseplant. It requires regular moisture. Water and mist the plant with room-temperature water. However, don't overdo it; the soil should be kept slightly moist.
Organic fertilizers are too heavy for persimmons. It's better to use special mineral complexes with phosphorus and potassium, twice a month.
Fertilizer should be applied in liquid form; fertilizing should be stopped during the winter period.
A sunny location with indirect light and a temperature of around 20°C will provide comfortable conditions for this southern plant. However, it's important to choose a location free from drafts.
Useful tips and recommendations
To produce fruit, you need to follow more than just the standard houseplant procedures. Persimmons, for example, must be pinched back after they reach half a meter in height. The tree also needs to be grafted, and to accelerate the formation of fruit buds, this is done using the girdling method. A scion from a fruiting tree is used as a scion. Don't forget to treat the plant preventively against fungal infections and pests.
Getting your first fruits will take time (possibly several years) and patience, as well as following all growing conditions and care guidelines. However, ripe, delicious berries will delight you not only with their magnificent decorative appearance but also with their wonderful taste.