Onion bulbs from sets: planting, growing and care
Content
Features of culture
The complete onion growing cycle, from sowing seeds to obtaining new seed, takes two or three years. With two-year cultivation, a large bulb grows from the seeds in the first year, which produces a stalk the following year and produces seeds. Early-ripening varieties can be grown this way. If the crop is three years old, small onions (sets) are produced from densely planted seeds in the first year; in the second year, the sets produce large onions; and in the third year, the onions produce seeds.
Let's consider the climatic conditions (temperature, daylength, humidity) that influence onion ripening. The optimal temperature for growing onions is between 12 and 25°C (55 and 77°F), meaning they aren't particularly demanding. Seeds begin to germinate at 4-5°C (41-41°F). Seedlings of pungent varieties can withstand frosts down to -6°C (-22°F), while semi-sharp and sweet varieties can withstand frosts down to -2°C (-3°F). Onions are among the plants that react sharply to the balance of daylight and darkness.
The onset of bulb formation and maturity depend on day length. Therefore, onion varieties tolerate climate change at the same latitude better than changes in daylight hours when moving south or north. Onions are long-day plants.
Active growth of green mass and bulb formation occur as daylight approaches its maximum length: in southern regions, this is the period when days lengthen from 13:00 to 15:00, while in more northern regions, they lengthen from 15:00 to 18:00. Therefore, when planting southern varieties further north, the rapidly lengthening days inhibit leaf growth and accelerate bulb formation. The result will be a very modest harvest of well-ripened, small bulbs.
Varieties zoned for northern regions don't form bulbs at all in the south, where days are shorter, but instead continually grow foliage. Therefore, when selecting varieties, it's crucial to consider this specific response to photoperiod. Onions are quite demanding of moisture, with a weakly branched, threadlike root system located in the upper soil layer. This also explains their increased demands on soil fertility.
Video: Planting Onion Sets
This video will teach you about the intricacies of planting onion sets.
Soil preparation
Onions require a sunny site with fertile soil and a level surface. Beds where potatoes, cucumbers, tomatoes, and peppers were grown last year are suitable. Planting onions after radishes, cabbage, and other cruciferous vegetables is not recommended to prevent downy mildew and mosaic disease. However, alternating rows of onions and carrots helps both crops repel pests. Growing onions next to beets allows you to get two harvests from a small bed.
Onions grow most intensively during the first half of summer, and by midsummer, the space vacated by harvesting will be filled by developing root vegetables. Planting onions around currant and strawberry bushes can protect the berry bushes from bud mites. A good harvest with large bulbs can only be achieved in light, fertile soils with good water and air permeability. Onion beds should be prepared in the fall. Dig the beds, adding rotted manure (0.5 bucket per square meter) and wood ash (200 g per square meter).
If you have to prepare your beds in the spring, be sure to loosen them and fertilize them. Instead of organic matter, you can use mineral fertilizers: 45-50 g of superphosphate and 20-30 g of sodium sulfate per 1 m².
Which variety to choose?
It's best to grow onion varieties that are zoned for your area. The list is quite extensive. We've already discussed the potential problems that can arise from using onion sets that aren't suitable for your region.
For long-term storage, choose more pungent varieties: Myachkovsky Local, Rostov Onion, Stuttgart Riesen, Chalcedony, and Sturon. Less pungent salad onions don't store as well, but are much better for fresh use: Albion, Alisa, Carmen, Lisbon White, and Ailsa Grit.
When to plant
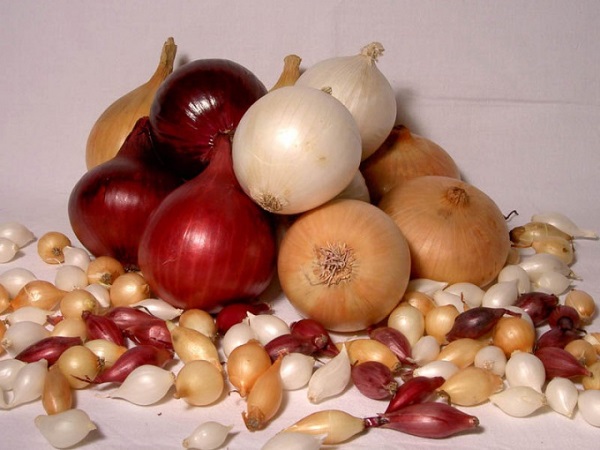
Onion sets can be planted in either spring or fall. If you grew your own sets, you'll likely find a few very small bulbs, no more than 1 cm in diameter. These won't last until next year; they'll dry out. It's best to plant these small sets in the fall, two weeks before the first frost. The extended growing season will allow for the formation of large bulbs, although there's a risk that some sets may perish in a winter with little snow and frost.
In spring, onion sets are planted in May, once the danger of frost has passed. First, plant the sets, which are smaller than 2 cm in diameter and not prone to bolting. About two weeks later, when the weather becomes consistently warm, plant the remaining, larger onions.
Landing
Before planting, the seed onions should be heated for a week at 40-50 degrees Celsius, placed near a boiler or heater. After heating, disinfect them. For this purpose, soak the seed onions in one of the following solutions:
- in a dark pink solution of manganese for 30 minutes;
- in a solution of copper sulfate (1 tablespoon per bucket of water) for 30 minutes;
- in a solution of table salt (8-10 tablespoons per bucket of water) for 2 hours.

Once dried, the onion sets are ready for planting. For a good harvest and ease of care, it's important to plant the onions properly, not too densely and leaving sufficiently wide row spacing. Furrows are spaced 25 cm apart. The bulbs are planted at a depth of 2-3 cm, with intervals of 8-13 cm. Planting the bulbs too deep will inhibit leaf growth and head formation, while planting them too shallow can lead to plant death due to the topsoil drying out.
Care
Onions don't require much care. Regular weeding to prevent weeds from shading the young plants, watering during dry periods, and loosening the soil after rain—that's all you need. Watering is especially important when the green mass is developing and the bulbs are growing. Watering should be stopped six weeks before harvest.
If you applied fertilizer to the beds before planting, this will be sufficient. If you're unsure of the soil's fertility or notice slow leaf growth, you can fertilize with an aqueous solution of organic matter (1 cup of bird droppings per 10 liters of water) or urea. Fertilize after watering at a rate of 3 liters of solution per square meter. Fertilize the plants a second time with the same solution after two weeks and again when the bulbs reach the size of a walnut.
Closely monitor the condition of your onion leaves. Spots, stripes, or yellowing may indicate a fungal infection and will require treatment with fungicides. If some bulbs produce shoots, they must be removed as soon as possible, otherwise the bulb will not form.
Harvesting and storage
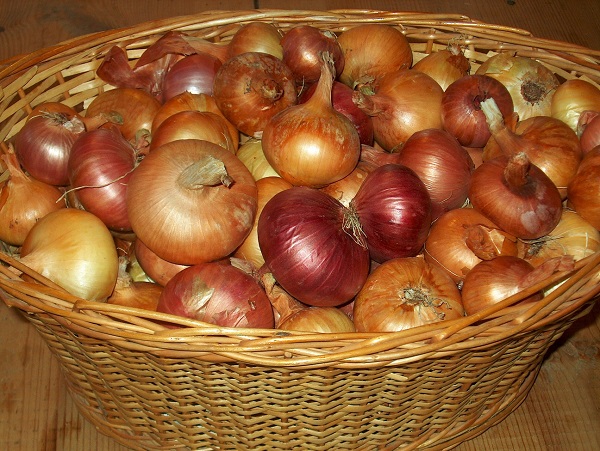
Onions are harvested in dry weather after the tops have completely lodged. The crop is dug up and left to dry directly in the garden bed. Once the soil has dried and crumbled, the onions are moved to a ventilated area for further drying. There, the onions are sorted, setting aside any with wet stems or broken scapes for quicker use. If you don't plan to braid the onions, the tops should be trimmed, but not too short, leaving a small tail.
Any dry place is suitable for storage, as long as the temperature is no higher than 22 degrees Celsius and no lower than 5 degrees Celsius. Store them in wooden crates, baskets, stockings, or cardboard boxes. Plastic bags should never be used. Onions need to breathe.
Video "Growing to a head"
This video will show you how to grow onions.