How to Plant Potatoes Under Straw: High Yields with Minimal Effort
Content
Advantages and disadvantages of the method
Vegetable growers and gardeners are increasingly interested in the method of growing potatoes in straw, but due to uncertainty about the end result, many of them are hesitant to implement this idea.
To truly appreciate the effectiveness of this method, it's important to understand all its advantages and disadvantages. Let's start by listing the benefits of growing potatoes under straw:
- This method is applicable to any climate, and it has its advantages everywhere: in temperate climates, where summers are very hot, straw will protect plants from the scorching sun, and in spring, from night frosts. In the south, potatoes can be planted under straw much earlier than usual.
- Potatoes don't require constant care like weeding, loosening, or hilling, so you can spend your summer months or long-awaited vacation on something more enjoyable.
- There is no need to dig or plow the area for planting - just loosen the top layer. If you don't have time, you can do without this procedure.
- Straw perfectly protects the soil from weeds, drying out, and overheating; throughout the season, your potatoes will grow in comfortable conditions and will not require watering.
- There is no need to add fertilizer, as the straw or hay will partially decompose and serve as a good organic fertilizer.
- The bottom decomposing layer of straw is a favorite habitat for worms, which have a beneficial effect on the condition of the soil, which will have a positive impact on the yield and quality of the tubers.
- Potatoes grown under straw are less susceptible to disease, Colorado beetles, and slugs, allowing you to grow vegetables without the use of chemicals.
- In the fall, after harvesting, you can simply dig the straw into the area, and then by spring you will again have fertile soil for planting potatoes.


The disadvantages of this method include the following:
- It is not always possible for a gardener to obtain the required amount of straw or hay, and preparing it yourself is very labor-intensive and troublesome.
- In places where there is not enough straw and the sun hits the tubers, the potatoes may turn green.
- Small rodents (mice) often infest hay or straw, causing significant damage to crops.
Video "Landing"
This video will show you how to plant potatoes under straw.
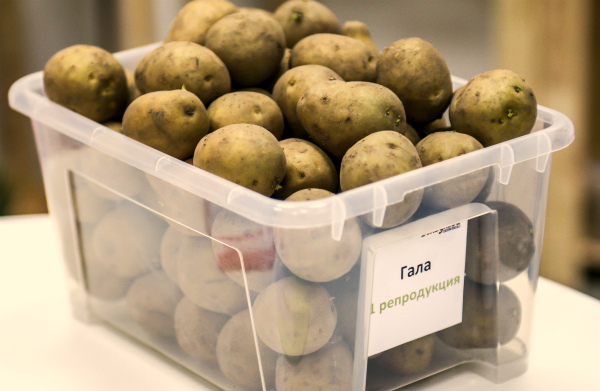
Preparing tubers for planting
High-quality planting material can significantly increase yields, so before planting potatoes under straw, it's a good idea to do some preparatory work. First, sort the tubers: separate the good ones from the damaged ones, then select the most suitable size. For growing under straw, it's recommended to use whole tubers of medium size, about the size of a chicken egg. If these are unavailable, large potatoes cut in half can be used.
Shortly before planting, it is recommended to warm the seed tubers in the sun - this will ensure earlier germination. If you want an early harvest, the tubers need to be warmed more thoroughly for 3-4 weeks. If you place them in boxes, sprinkle them with damp sawdust and peat, and then keep them warm, you'll have perfect planting material with sprouted shoots and small root clusters within three weeks. To protect the potatoes from microorganisms and potential soil pests, it's recommended to sprinkle the tubers with wood ash before planting.
Landing conditions
When planting the tubers, the soil should be moderately moist and loose. It's best to plant after a light rain. If the rain was heavy, delay planting for 1-2 days—planting tubers in overly wet soil is not recommended. In hot weather, the top layer of soil can be slightly moistened, but only slightly, as the subsoil typically remains damp long after winter.
Before planting potatoes, ensure you have sufficient covering material (hay or straw). The tubers need to be covered tightly, but not too thickly, otherwise the potatoes won't germinate for a long time. It's also important to remember that straw will settle over time, creating gaps, so it's necessary to add more periodically, and for this purpose, always have a supply of material on hand.
Planting technology
Planting potatoes is technically very simple, and if you want to save as much time as possible, you can skip some steps. For example, you can skip the soil loosening and simply lay the tubers on the surface. It's not necessary to make furrows for the potatoes. But let's take things one step at a time. Let's look at how to grow potatoes under hay or straw, step by step:
- You should start with lightly loosening the soil (approximately 5 cm) - as practice shows, this procedure is not necessary, and the tubers can be placed directly on the soil or grass cushion.
- Next, mark out the plot and make shallow furrows (10-15 cm) of any width around the perimeter. Place the planting material into these furrows at intervals of 30-40 cm. If desired, you can skip this step and place the tubers directly on the soil surface, but then you'll need to lightly cover them with fertile soil.
- Finally, the furrows are carefully covered with straw or hay (experienced gardeners recommend using straw). As mentioned earlier, the straw layer should be loose, but without gaps, approximately 20 cm thick.

You can sprinkle a little soil mixed with organic fertilizer on top of the tubers. Well-rotted manure or ash are the best options. If the summer is hot, the bed will need to be watered occasionally.
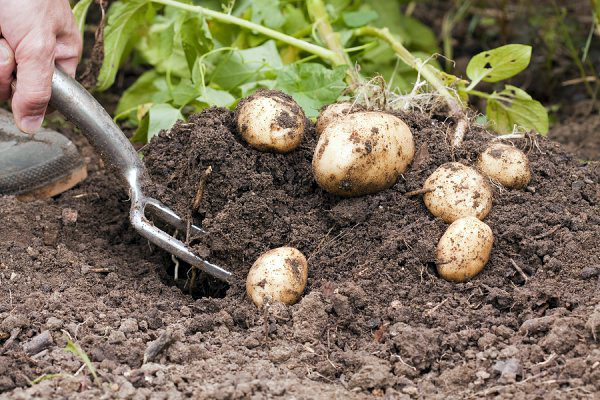
Harvesting
This process, compared to traditional potato digging, is very simple and takes little time. There's no need to use a shovel or awkwardly dig through the soil looking for tubers. Once the tops are dry, simply remove the straw with a rake or garden fork and harvest the roots.
Don't rush to throw away the straw - it can be dried and used next year or dug into the area as fertilizer.
If you covered the tubers with soil during planting, simply pull the tops, and all the root vegetables will appear on the surface, after which you can easily collect them in bags or buckets.
At this point, the harvest can be considered complete. A particularly pleasant moment is that all the potatoes, under the hay, grow large, even, and clean. There's no need to shake the roots clean, get your hands dirty, or breathe in dust.
Judging by reviews, growing potatoes under straw is much easier than using other alternative methods. Any gardener who has tried this method at least once will never go back to traditional soil cultivation, as they realize that planting potatoes under straw is a hassle-free garden.
Video "Leaving"
From the video you will learn how to properly care for potatoes.