How to germinate potatoes for planting: expert advice
Content
Selecting a variety
When choosing a potato variety, gardeners consider its regional distribution, resistance to major diseases, starch content, and ripening time. It's best to choose varieties suited to your local climate. Starch content affects how quickly potatoes cook, not their flavor; it's starch content that determines which variety is best for boiling, frying, or baking.
Based on ripening time, all varieties are divided into several groups. Very early varieties can be harvested in 34–38 days, early varieties in 40–50 days, mid-early varieties in 55–65 days, mid-season varieties in 65–80 days, and mid-late varieties in 80–100 days. Many homesteaders plant varieties that ripen in sequence to have new potatoes from June to September. And if you manage to grow two crops in one season, the first can be harvested in June and the second in September or October, weather permitting.
Among the very early varieties, popular ones include 'Bellarosa' with its red tubers and 'Minerva' with its high starch content in light-colored tubers and the ability to grow a second crop. The 'Ariel' potato variety produces large yellowish tubers and can also ripen twice in a single season, with the first crop ripening before late blight attacks.
Among the early varieties, gardeners love the fast-ripening, high-yielding "Arrow," the yellow "Dnepryanka," the weather-indifferent "Impala," and the purple "Povin," which is resistant to many diseases. "Vineta," "Fresco," "Svyatkova," "Rosalind," and "Serpanok"—there's plenty to choose from.
"Zabava", "Mriya", "Nevsky", "Sineglazka" - all these are mid-early, high-yielding varieties, resistant to various diseases, with different starch content, but high taste qualities.
Among the mid-season varieties, domestic vegetable growers prefer the yellow "Santé" potato for lovers of chips or French fries, and the two-colored, white and red "Picasso", which produces tubers weighing 120 g.
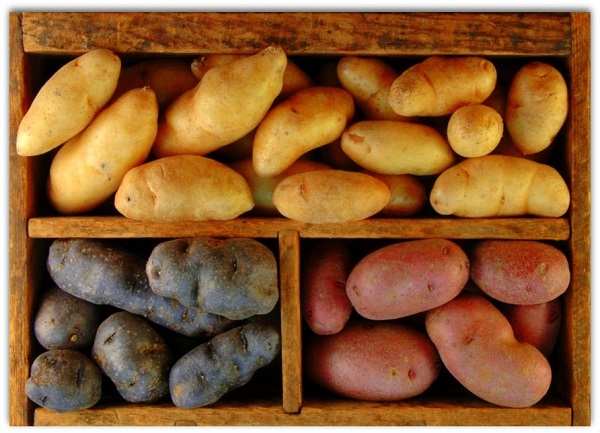
Mid-late varieties include the very starchy 'Désirée' and 'Kuroda.' These are the work of Dutch breeders and are distinguished by their disease resistance, good shelf life, and high yields.
Video: "Growing Potatoes"
This video will show you how to sprout potatoes for planting.
Preparation
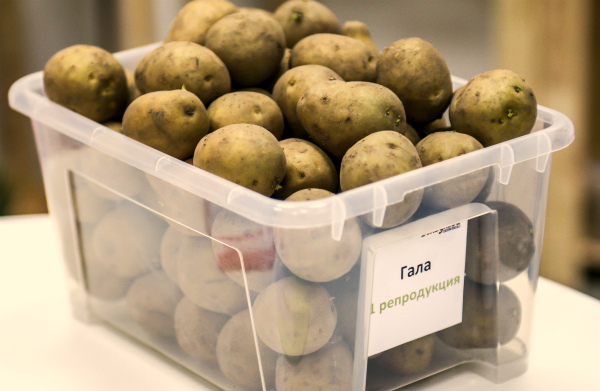
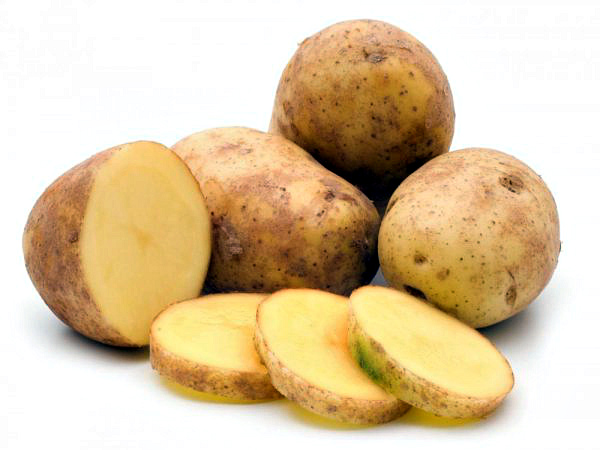
Preparation for planting begins with selecting seed potatoes, which can be purchased or harvested from your own garden. Before considering how to germinate the seed potatoes, inspect them carefully. Immediately discard any sprouted tubers showing signs of rot, scab, or other diseases. Only completely healthy tubers, preferably at least 30 grams in weight, can be planted. They must be of a regular shape, as oddly shaped tubers will produce equally odd, misshapen plants.
Seed potatoes are typically harvested six weeks before planting. If a gardener doesn't have the opportunity to prepare the seed in advance, no matter what variety they choose, they won't see an early harvest.
Unprepared potatoes take at least two weeks to germinate, and fully grown plants may appear in the garden bed in another two to three weeks. So, if you plant potatoes without any preparation, you won't see the sprouts for at least a month, and you won't be able to assess their quality until much later.
To speed up the process, you can germinate seed potatoes in the light or in a special substrate, grow seedlings (if there is little seed material), or at least dry them before planting.
Typically, the cellar where last year's harvest is stored is kept cool to slow down any processes that may occur in the tubers. They should be gradually warmed to room temperature over several days, then placed on windowsills or flat surfaces close to the window. These can be low boxes, shields, or stands.  The ideal arrangement is a single layer, but if this is not possible, use fewer layers. The goal is to ensure each tuber receives as much sunlight as possible. Under the influence of heat and light, certain chemical processes occur within the tuber to prepare it for growth.
Once all the planting material has turned green, it can be germinated. Many experienced vegetable growers perform this procedure in the fall after harvesting. They immediately select the seeds, expose them to light until they turn green, and then store them separately from the potatoes intended for food. This will make them more readily ready for planting in the spring.
During the greening process, some tubers that previously appeared healthy but have now begun to rot can be discarded, thereby increasing the yield - it is better to discard unplanted material than to care for an empty bush later.
Before sprouting, many experts recommend treating potatoes to protect them from disease. To do this, soak them in a 40% formalin solution dissolved in 10 liters of water for half an hour, then pile them up for several hours, covered with a tarp.
The germination process
If space is an issue, potatoes can warm up and turn green in the shade, but they should germinate in natural light—the more light, the better the sprouts will be. When sprouting dry in the light, spread the potatoes evenly (preferably in a single layer). You can also rotate each potato to ensure all the sprouts awaken and sprout. The more sprouts, the larger and stronger the plant will be, and therefore, the greater the harvest.
If you bring tubers with sprouts from the cellar, do not rush to pick them off (except for string sprouts); the strong white sprouts will soon turn green, otherwise you will still have time to throw out the unhealthy tuber.
You can sprout potatoes in plastic bags hung opposite windows. Poke many small holes in each bag (a regular "T-shirt") to allow air circulation, place 5-8 potatoes in it, hang them, and periodically rotate them so that different sides face the window. This method has one drawback: the fragile sprouts can break off when the potatoes are moved.
Tubers of approximately equal size, receiving equal amounts of light, will produce nearly identical sprouts. The weaker ones lag behind, while the stronger ones take the lead. Those that sprout faster than others can be placed in a transport box, moved away from the light source, and replenished as other tubers sprout.
For wet sprouting, place the potatoes on a layer of sand and rotted sawdust, compost, or coconut fiber mixed with sand. Sprinkle the same mixture on top, then add more potatoes—up to eight layers can be created. Then, moisten them all for a day and leave them in a warm room, regardless of light. After a week, roots will begin to appear, at which point you can water them with a superphosphate solution supplemented with ammonium nitrate and urea. This feeding can be repeated after a few days. You can also water them with Bordeaux mixture or a weak solution of potassium permanganate for fertilization. This method is beneficial because it allows sprouts and roots to form simultaneously. Often, the tubers are first exposed to light and then placed in a moist substrate.
If you don't have time to sprout, you need to keep the potatoes in a warm, bright room for at least a few days to awaken the eyes; this will speed up germination, even if only a little.
Video: Planting Potatoes
This video will show you how to plant potatoes effectively.